A Fast and Cost Effective way to Makeover your Dated Fireplace
How incredible are fireplaces? There is nothing like the heat coming from burning wood and the captivating imagery that fire creates. Finding a house with an functioning fireplace for us is always a win - it creates a cozy atmosphere, become a feature in your lounge and much to Caleb’s delight - means you aren’t having to spend extra money to install heating in the house.
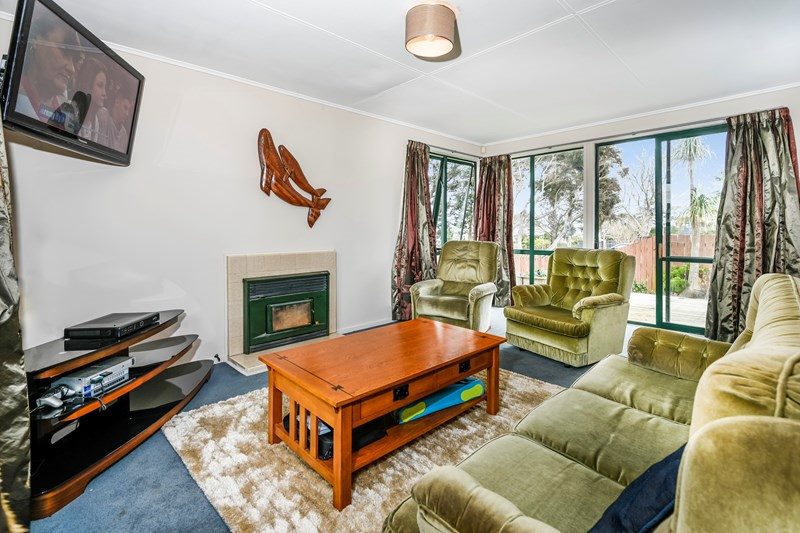
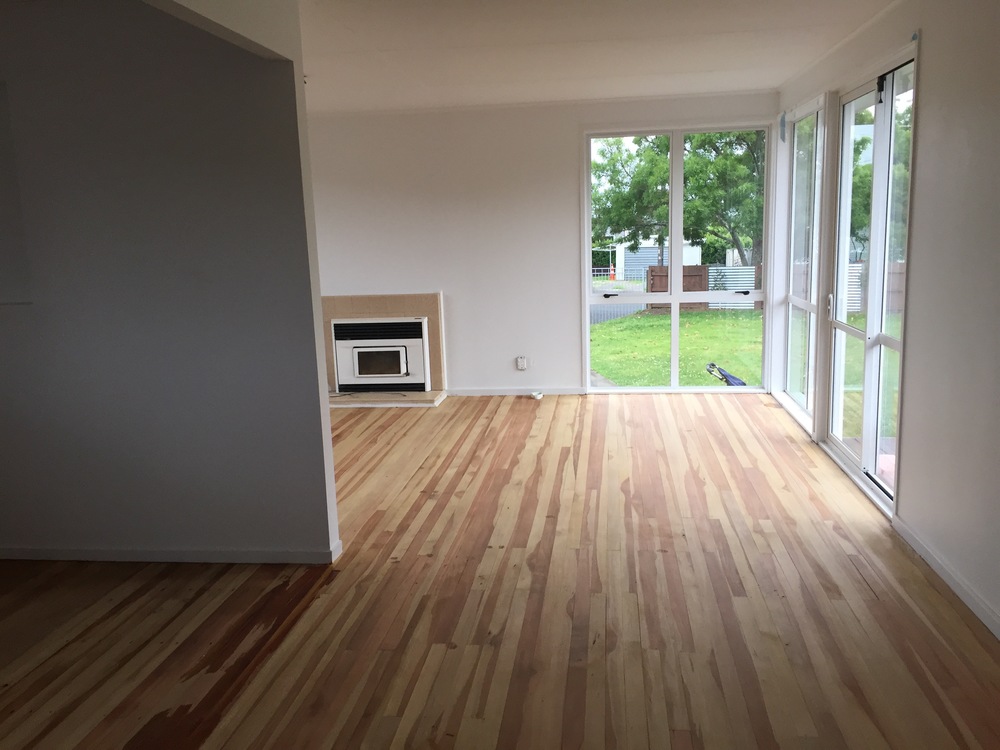
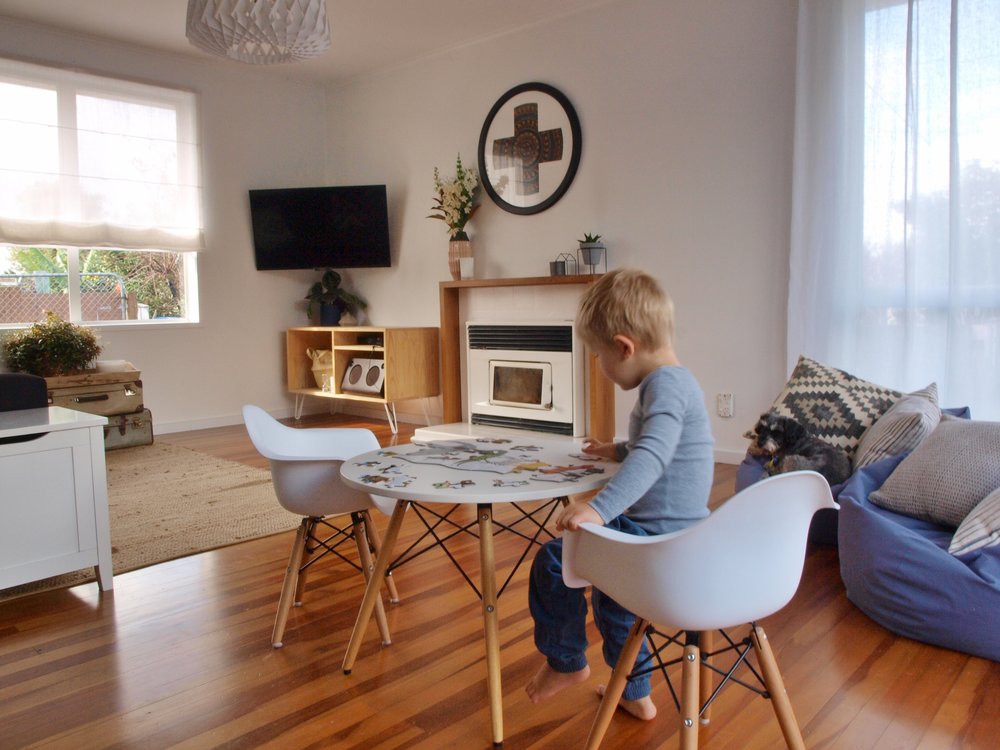
The problem with our fireplace was it was seriously dated, as with many original fireplaces in houses of this era. The fireplace itself was in good condition but coloured forest green (matching the previous window joinery), surrounded with square beige tiles and lacking in the mantle department – a 50mm tile projection off the wall. The fireplace originally stood out for all the wrong reasons, but to replace or remove a perfectly functioning fire place just for looks was not an option for us. So we started our DIY investigation - researching, exploring new ideas and finding products we haven’t used before. The result - our fireplace transformation cost approximately $400 and took us a week to complete by outworking 3 simple projects.
The Fireplace.
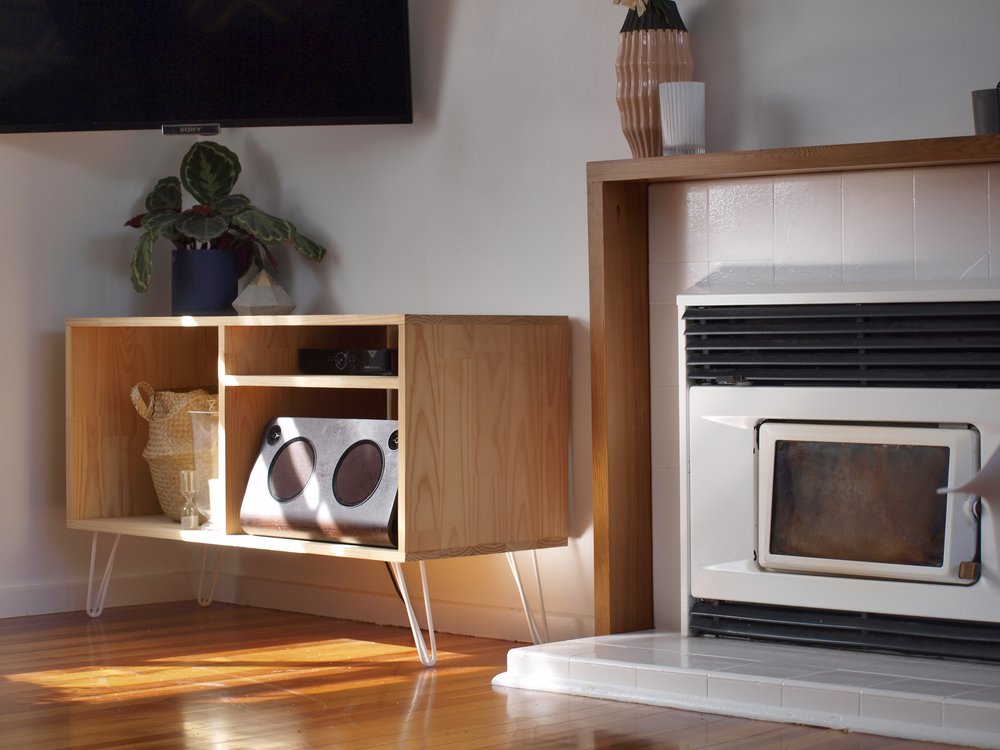
We asked our joinery painters if they could also recolour our forest green fireplace, after some research they said they could. Doing this work at the same time our joinery was recoloured, within a day the green was gone and our fireplace matched the rest of our house. We choose white to go with the colour scheme and match our joinery. Before it was spray painted with their paint product, we had the fireplace cleaned and all dust and dirt removed.
The Tile Surround.
The dated tiles on the facing and hearth of our fireplace featured a strong beige colour that I couldn’t stand. We thought about re-tiling, then considered removing the tiles and creating a cement surround that we would paint – both requiring a bit more time than we had available. I came across tile paint and asked the question – can I paint the tiles around my fireplace – turns out you can! So after giving the tile’s a clean and a light sand with a scourer I primed the tiles with White Knight Tile Laminate Primer then after leaving 24 hours to harden I did 3 coats of White Knight White Tile Paint. Though I went with their white, there are numerous tint options available.
The Mantle.
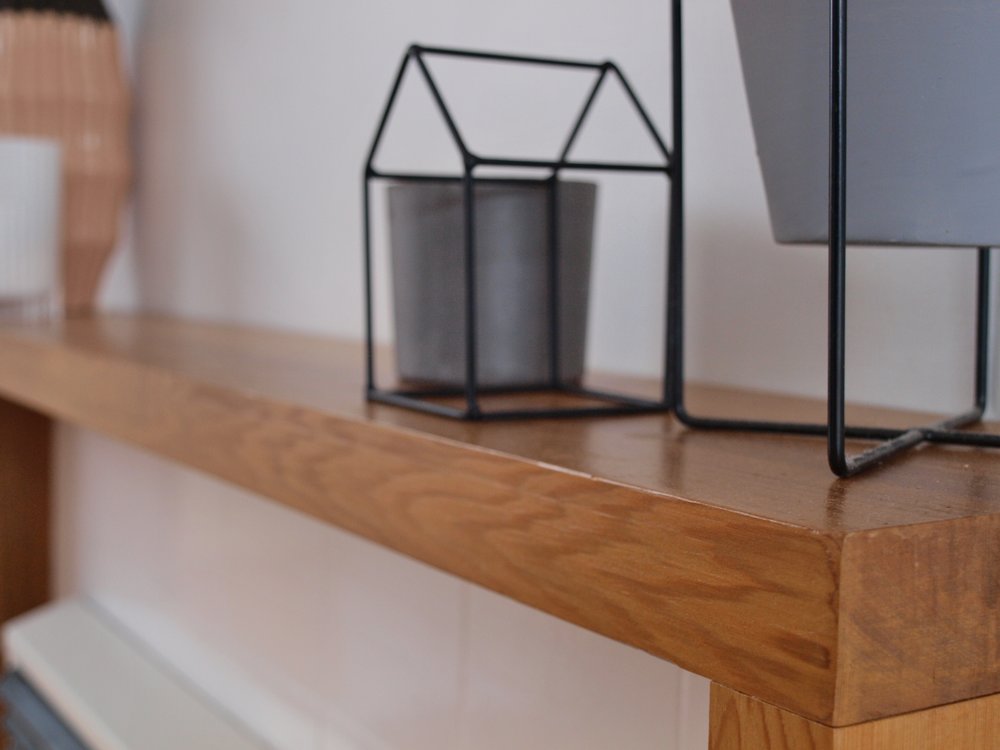
We decided on a simple design for the mantle, which was easy to build and install. The design consisted of covering the tile surround across the top and both sides to the floor, creating a wrap-around look and practically making the installation simpler with the mantle supporting its own weight and not requiring to be hung off the wall. Caleb handpicked a length of rimu (180mm wide x 40mm deep) from a local supplier and I gave it 3 coats of an outdoor vanish with satin finish. The construction of it was very simple, no dowels or mitre joints, rather a simple lap joint with pocket hole screws from below. Apart from this all it required was trimming the skirtings with a reciprocating saw and a couple of fixings to secure it to the wall. With the tiles and firebox door painted white, the wooden mantel intentionally became the hero of this makeover and a focus point for our living room.
Ahhh those winter nights – a lot more to like about them now we get to cozy up in front of our beautiful fireplace.
Cost:
- Wood - $80
- Paint & Varnish - $120
- Fireplace Recolour - $200 (estimate, included in our window recolouring package)
